
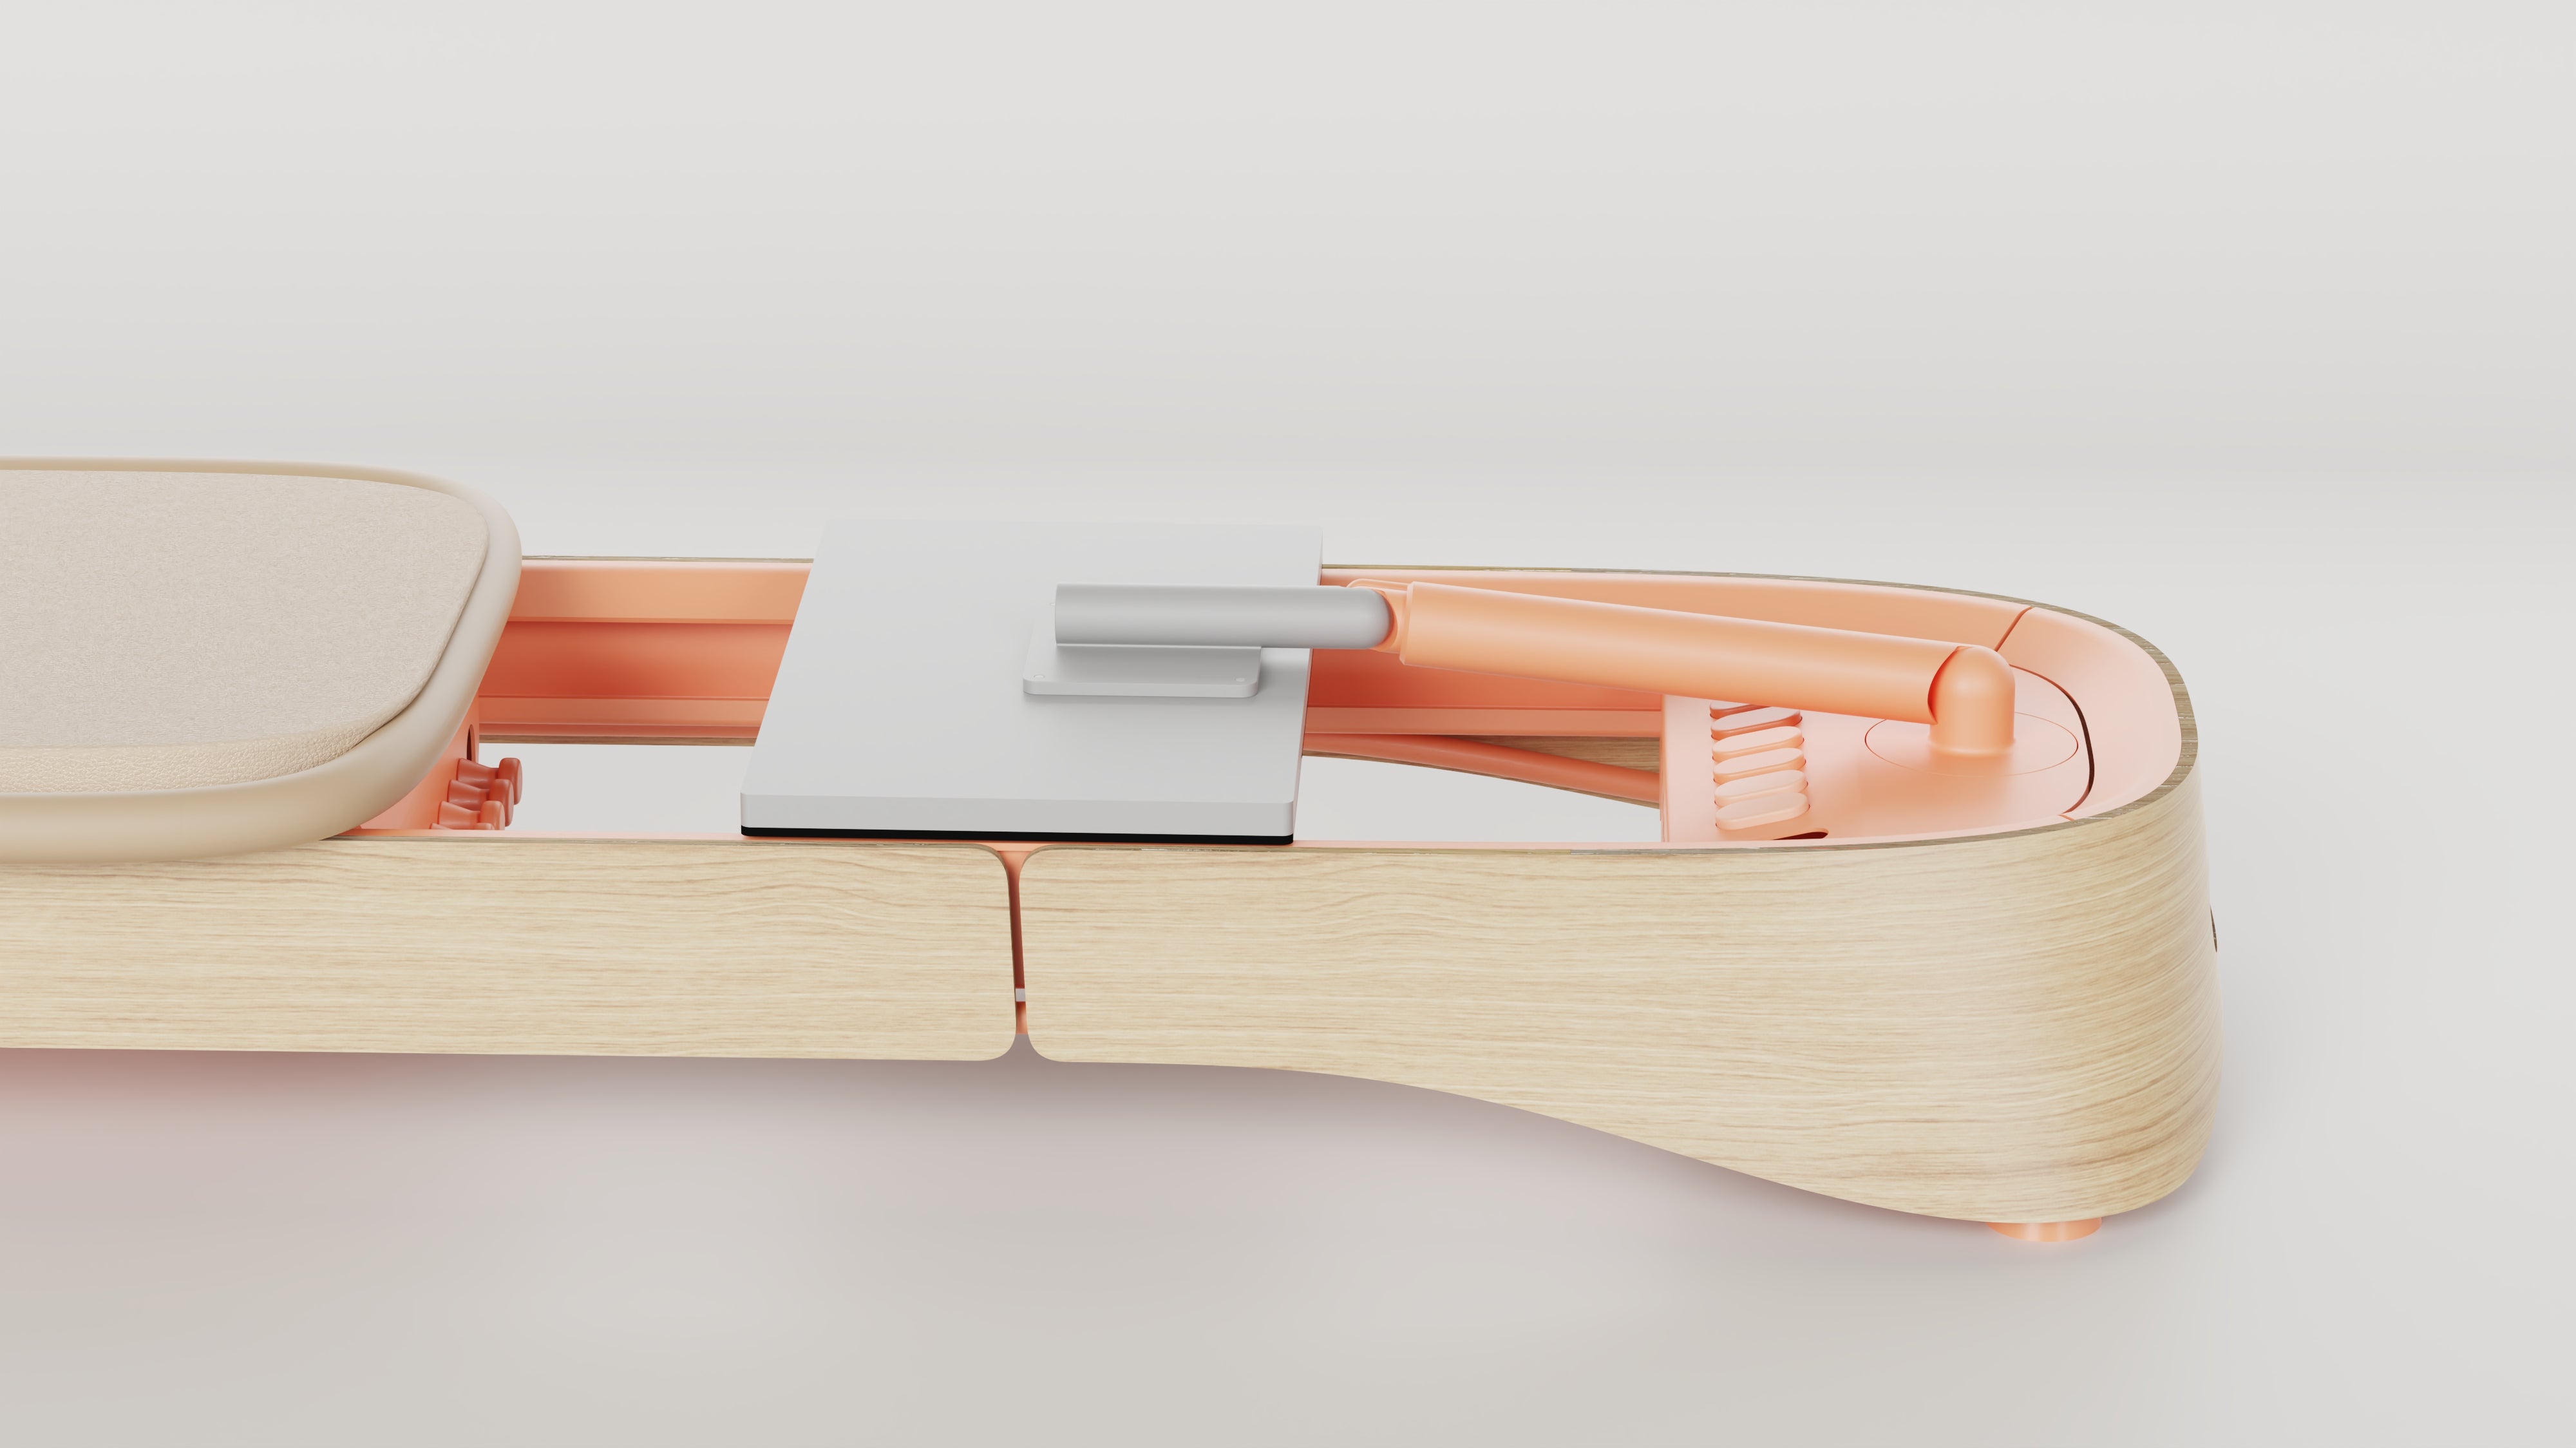
Pilates reformer machines have become a staple in modern home gyms, offering a blend of resistance, flexibility, and precision that traditional floor work can’t match. When paired with a thoughtfully designed workout routine, a reformer can transform core stability, muscle tone, and overall functional strength. This article outlines practical strategies for maximizing results with a home Pilates reformer, covering equipment setup, progressive programming, and safety considerations, all while integrating expert resources for deeper insight.
Choosing the Right Reformer for Home Use
Selecting a reformer that fits both space and training goals is the first step toward consistent practice. Key factors to evaluate include carriage length, spring resistance options, and weight capacity. A compact, fold-away design may be ideal for smaller apartments, whereas a larger unit with multiple springs can support advanced resistance levels.
- Footprint: Aim for a model that occupies no more than 6″?ft?? when fully assembled.
- Adjustable Springs: Look for at least 5-7 spring settings to accommodate progression.
- Stability: Heavy-duty frames and non-slip footplates reduce wobble during intense sequences.
- Accessory Compatibility: Some reformers accept additional bars, straps, and platforms for varied workouts.
For a curated selection of high-quality options, Discover expert strategies here and compare specifications that align with personal objectives.
Setting Up an Effective Home Pilates Space
Environment and Safety
A dedicated, clutter-free area promotes focus and reduces injury risk. Consider the following setup guidelines:
- Flooring: Use a non-slip mat or rubber flooring to protect both the reformer and the floor.
- Lighting: Soft, even lighting helps maintain proper form without harsh shadows.
- Ventilation: Good airflow keeps muscles warm and prevents overheating.
- Clearance: Maintain at least 2″?feet of space behind the carriage for full range of motion.
Equipment Calibration
Before each session, verify that the springs are correctly tensioned and the footbar is securely locked. Regularly inspect the carriage rollers and cables for wear, tightening any loose bolts as needed. Proper calibration ensures consistent resistance and prolongs the machine’s lifespan.
Designing a Balanced Reformer Workout
A well-rounded routine should address core activation, lower-body strength, upper-body stability, and flexibility. Below is a sample 45-minute sequence that can be adapted for beginners to advanced practitioners.
Warm-Up (5″?minutes)
- Footwork on the carriage – 2″?minutes (heel-toe, parallel, and external rotation).
- Spinal articulation – 3″?minutes of cat-camel rolls while seated on the carriage.
Core Circuit (15″?minutes)
- Hundred on the reformer – 2″?sets of 30″?seconds, focusing on breath coordination.
- Short spine massage – 3″?sets, emphasizing controlled articulation.
- Reverse plank with foot straps – 3″?sets of 10″?reps, engaging the deep abdominal wall.
Lower-Body Strength (10″?minutes)
- Leg press variations – 4″?sets, adjusting spring tension to maintain 12-15″?RM.
- Standing split squat – 3″?sets per side, using the footbar for balance.
Upper-Body Conditioning (10″?minutes)
- Arm circles with light springs – 3″?sets of 15″?seconds each direction.
- Rowing pull-through – 4″?sets of 12″?reps, keeping elbows close to the body.
Cool-Down & Stretch (5″?minutes)
- Standing forward fold on the carriage – 1″?minute, allowing the spine to release.
- Mermaid side stretch – 2″?minutes each side, using the footbar for support.
For deeper explanations of each movement and variations for different skill levels, Learn about our tailored solutions that include video demonstrations and progression charts.
Progression Strategies for Continuous Gains
Stagnation is avoided by systematically increasing load, range of motion, or complexity. Consider the following progression matrix:
- Load Increase: Add one spring or switch to a higher-tension spring every 2-3 weeks.
- Range Expansion: Extend the carriage travel by 10″?% once the current range feels effortless.
- Complexity Boost: Incorporate multi-plane movements (e.g., side-lying leg circles) to challenge stabilizers.
- Tempo Variation: Apply a 3-second eccentric phase followed by a 1-second concentric contraction for hypertrophy focus.
Guidelines on how to safely implement these adjustments can be found in the Explore advanced guides and tips section, which outlines periodization models tailored for home environments.
Monitoring Performance and Staying Motivated
Tracking progress helps maintain motivation and informs necessary program tweaks. Recommended methods include:
- Workout Log: Record spring settings, repetitions, and perceived exertion after each session.
- Video Review: Periodically film key exercises to assess form and identify subtle improvements.
- Mobile Apps: Use fitness apps that allow custom Pilates templates and analytics.
- Goal Setting: Establish short-term milestones (e.g., mastering a full split on the reformer) alongside long-term objectives.
Additional resources on effective tracking techniques are available at Find out more about this approach, providing templates that integrate seamlessly with popular health platforms.
Conclusion
Integrating a reformer machine into a home fitness routine offers unparalleled versatility for building strength, stability, and mobility. By selecting the appropriate equipment, establishing a safe practice environment, following a structured workout plan, and applying progressive overload, results can be maximized without the need for a commercial studio. Continuous learning through reputable guides, such as those linked throughout this article, ensures that each session remains purposeful and aligned with evolving fitness goals.
